Need a great way to occupy your kids right now, an art project for homeschooling, or maybe even for yourself? Part of the fun in this project is getting outside and searching for the perfect loom. You’ll want to find a sturdy forked (Y-shaped) branch for this project. Be careful not to get one that is too flimsy, as it may break from the pressure of the stringing and weaving. I was almost done with my first weaving project, when I discovered this, and had to start over.
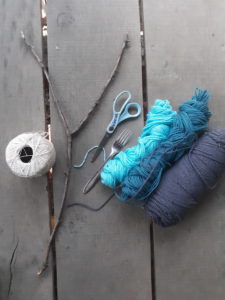
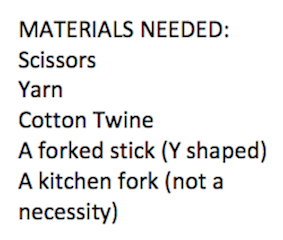
When creating a project, I try to find something I can do with supplies I already have on hand but if you don’t have a ready stash of craft supplies, the list needed to complete this is pretty simple.
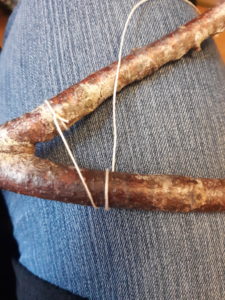
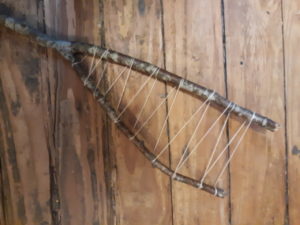
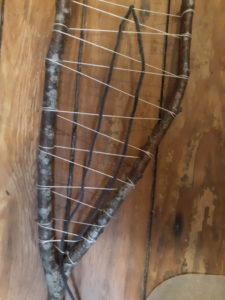
The 1st thing you’ll need to do is string the loom. This part can be quite tricky. You’ll need to keep some tension on the twine and may have to go back and tighten it here and there as you go. Starting at the fork, or V, you’re going to tie one end of your twine to one side of the fork, keeping the other end attached to the roll of twine. You’ll then cross the twine over to the other side, wrap the twine around that branch 1 time and return to the starting side. Moving about an inch or less over from the 1st strand, you’ll continue to wrap around the branch 1 time and cross over to the next side, until you’ve reached where you want the warp to stop. When determining spacing between the twine wraps, keep in mind that leaving too small a gap between strands, will make it difficult to weave the yarn through.
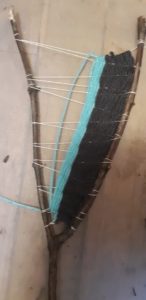
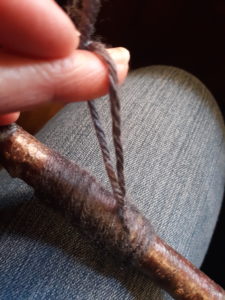
Next you’ll choose your yarn and colors that you want to work with. A thicker yarn will produce a quicker weave and give a bit of a textured appearance. I chose a regular, thin yarn for this project. Cut a length of yarn approximately 2 feet. Starting at the V, tie off a piece of yarn to the 1st string. From there, start feeding the yarn in an under over pattern through each string. When you reach the end of the line, turn the yarn back over or under the end string (depending on position of the yarn previous to), making sure not to pull so tight that it pulls the end twine piece toward the middle. Repeat the same over/under pattern, making sure the weave is opposite the line before it. As you complete each row, use your fingers or a fork to push the yarn down. When changing colors just simply tie off the 1st piece and beginning of next piece at the V end just like you did with the starting yarn and trim the ends.
Continue weaving until you are satisfied with the end result. When I completed and tied off my final strand, I cut another length of yarn and wrapped around the upper part of the branch and made a hanger for my new art piece.
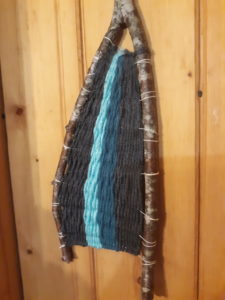
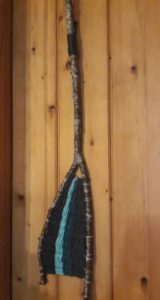
Hang it up and enjoy!
–Bridgett Gladney
Thank you. Looks like fun.